MIDI Editor
Essentials
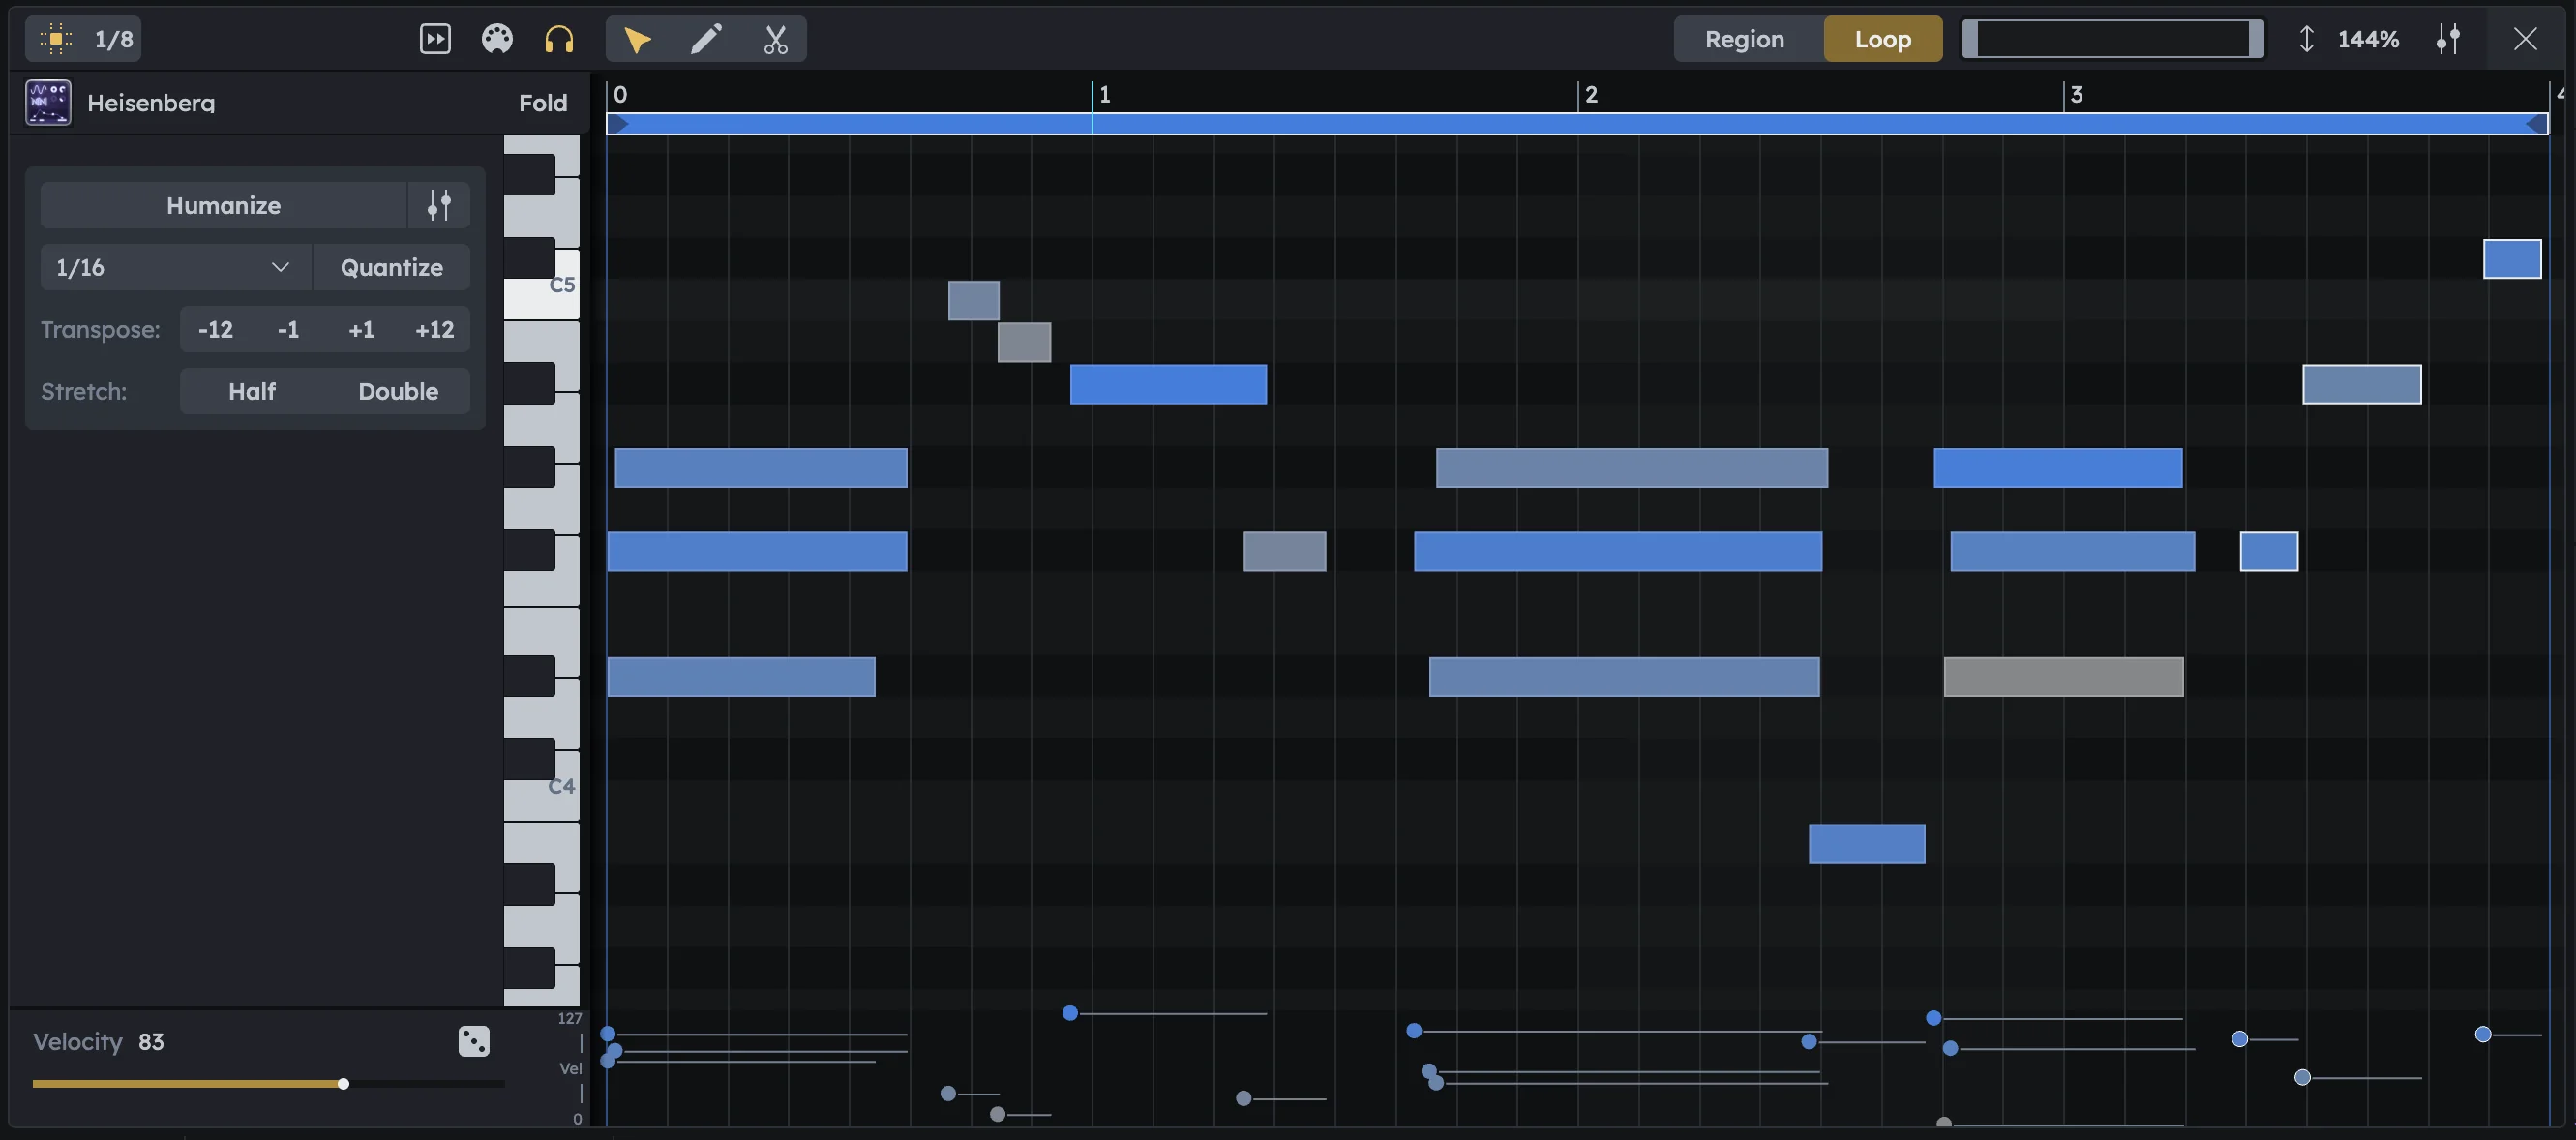
MIDI Editor creates and edits musical notes for instruments and synthesizers. Double‑click any MIDI region to open it. Draw melodies, program drum patterns, fix timing with quantization, shape dynamics with velocity, and layer multiple regions for complex arrangements.
Draw and edit notes with multiple tools
Quantization and humanization for timing correction
Velocity editing for dynamics and expression
Multi-region editing (up to 5 regions layered)
Open/Close
Open |
|
|---|---|
Create then open |
|
Close |
|
Writing Notes
Create in grid |
Double‑click to create a note at the current editor grid step. |
|---|---|
Create and drag |
Double‑click and Drag to draw a note with a specific length in one gesture. |
Snap |
Use the grid for tight timing; disable for freer placement. |
Select |
|
Move |
Drag horizontally (time) or vertically (transpose). |
Duplicate |
Alt/Option–Drag a selection; or copy/paste. |
Delete |
Select and press Delete/Backspace. |
Starter Tip
Starter Tip
Set the editor grid to 1/8 for basic rhythms, 1/16 for faster runs.
Velocity & Expression
Edit velocity |
|
|---|---|
Scale multiple |
Select many notes; drag in the lane to scale them relatively. |
Starter Tip
Starter Tip
Alternate velocities on repeated notes for natural groove.
Quantize
Quantize aligns notes to the grid, making timing tight and precise. Use it to fix sloppy playing or create mechanical rhythms.
Select the notes you want to align to the grid.
Click a note to select it.
Shift–click notes to add/remove.
Or Click and Drag to draw a selection box around notes.
Select none to automatically align all notes in the region.
Choose the desired grid size, e.g.
1/8 for basic rhythms
1/16 for tighter timing
Press Quantize. All notes are now aligned to the grid.
Humanize
Humanize adds subtle timing and velocity variations to notes, making them feel more natural and less robotic. Perfect for loosening up overly tight performances.
Select the notes you want to humanize.
Click a note to select it.
Shift–click notes to add/remove.
Or Click and Drag to draw a selection box around notes.
Select none to automatically humanize all notes in the region.
(Optional) Adjust the humanize settings.
Click the settings button next to the humanize button.
Adjust the strength in %.
Pick “Position”, “Duration”, or “Both” to decide what to humanize.
Toggle “Modify Velocity”.
Press Humanize. All notes are now humanized.
Tools
The MIDI Editor offers three specialized tools for different editing tasks:
V Cursor (default) |
|
|---|---|
D Draw |
|
C Cut |
|
Starter Tip
Starter Tip
Switch to Draw mode when programming drum patterns—much faster than double‑clicking each hit!
Editing multiple regions
Edit up to five regions at once—ideal for arranging harmonies, auditioning variations, and keeping interlocking parts (bass, melody, chords) aligned as you work.
Select regions |
Shift‑click regions in the Timeline; the editor displays all notes layered. |
|---|---|
Switch focus |
Click the region bar at the top of the editor or select a note from another region. |
Use colors |
For clarity, color your regions differently so layers are easy to distinguish. Right‑click any region to change its color. |
Region & Loop View
The view switch in the top-right affects what you see in the editor, not how playback works.
Region |
Displays the entire region, including all trimmed content. Best for keeping the arrangement in mind. |
|---|---|
Loop |
Shows only the looped section of the region, hiding the rest for clarity. Great for fine-tuning loops. |
Practical Tips
Practical Tips
No sound? Check device preset, channel mute/solo, and routing to Master/Group.
After quantize it feels stiff? Lower quantize strength or gently nudge notes.
Clashing pitches? Solo the track; transpose while looping to find intervals that fit.