Quantum (Compressor)
Essentials
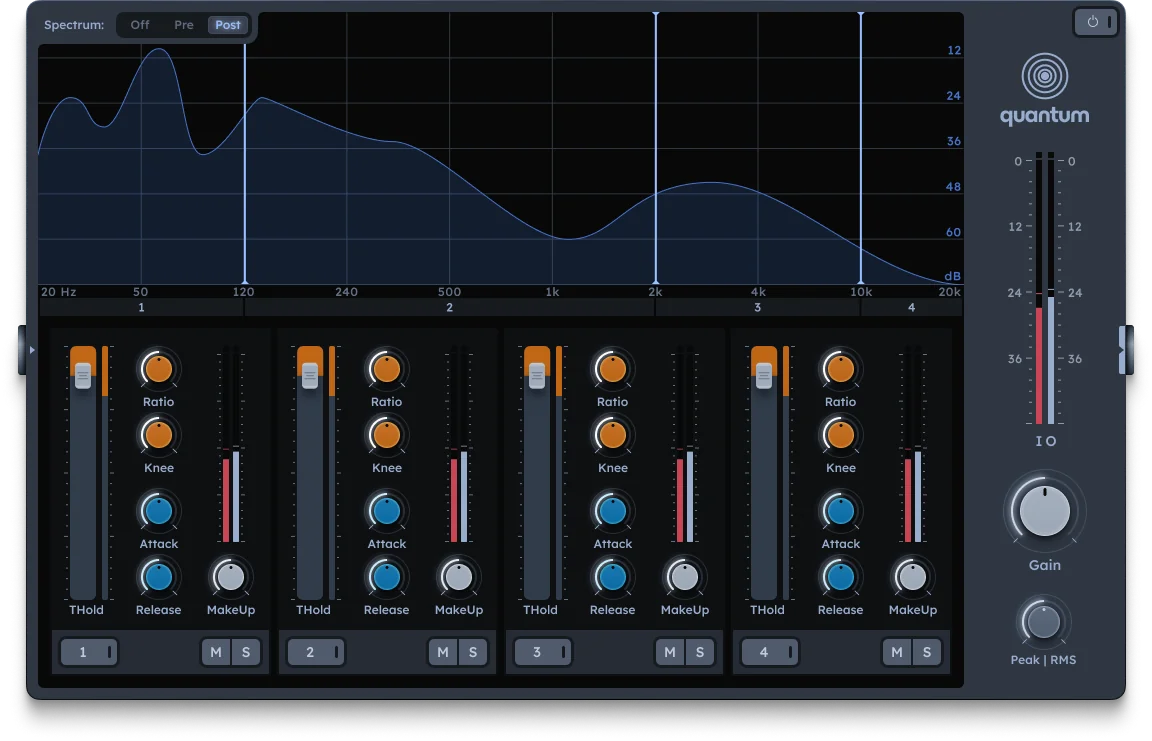
Quantum splits audio into four bands with independent compressors for each band. Apply different compression settings to low, mid, and high frequencies separately—for example, gently controlling low-end rumble while applying more aggressive compression to midrange vocals or high-end transients.
Four-band frequency splitting
Independent compressors per band
Threshold, ratio, knee, attack, release, makeup
Global Peak/RMS detection
Bands

Band crossover handles |
Drag these vertical lines to set crossover frequencies between the four bands (20-20000 Hz). The bands are labeled 1 (Low) to 4 (High) |
|---|---|
Threshold (THold) |
Sets the level above which compression begins (-48 to 0 dB) |
Ratio |
Sets the amount of compression applied once the signal exceeds the threshold (1:1 to 50:1) |
Knee |
Adjusts the transition between uncompressed and compressed signal (0-24 dB). A soft knee smooths this transition |
Attack |
Time taken for the compressor to respond once the threshold is exceeded (0-1000 ms) |
Release |
Time taken for the compressor to return to normal after the signal drops below the threshold (0-1000 ms) |
Makeup |
Boosts the compressed signal to compensate for gain reduction (-24 to +24 dB equivalent) |
Mute (M) |
Mutes the selected band |
Solo (S) |
Solos the selected band for monitoring |
Bypass |
Clicking the band number disables compression for that band (the frequency band still passes through, but uncompressed) |
Output
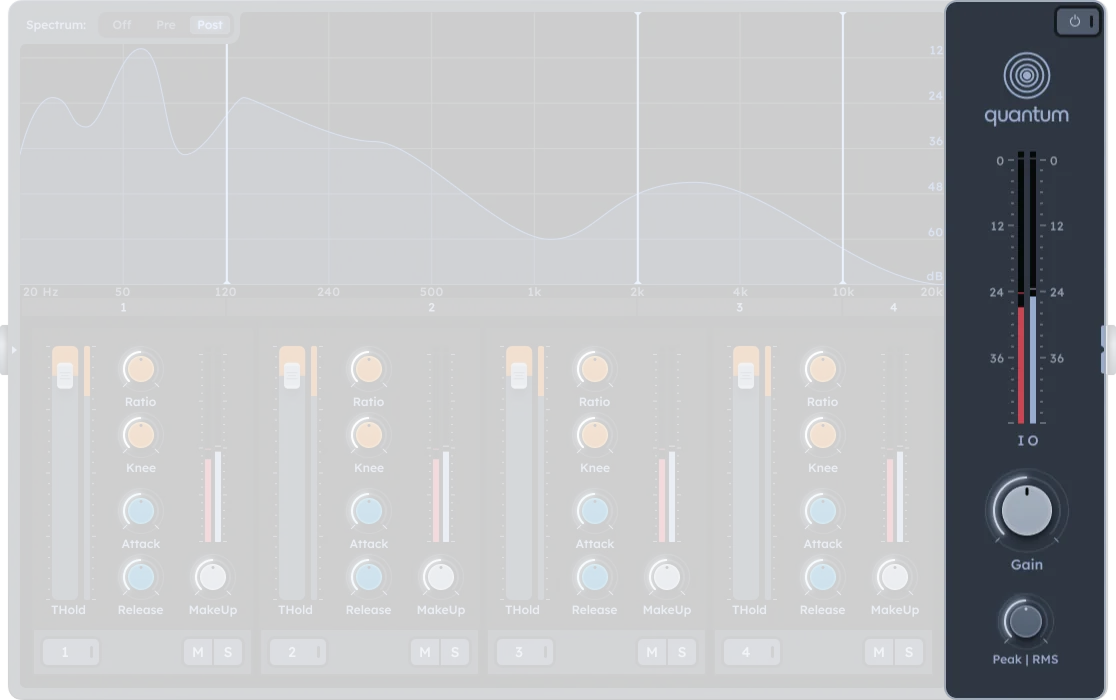
Gain |
Output level after compression (-24 to +24 dB equivalent) |
|---|---|
Peak | RMS |
Determines the detection mode used by the compressors. RMS mode uses a detection window (see RMS Window) |
RMS Window |
Duration of the detection window for RMS mode (0-30 ms). At 0 ms, compression triggers on the first peak sample |
On/Off |
Activates or bypasses the quantum compressor effect |
Spectrum display
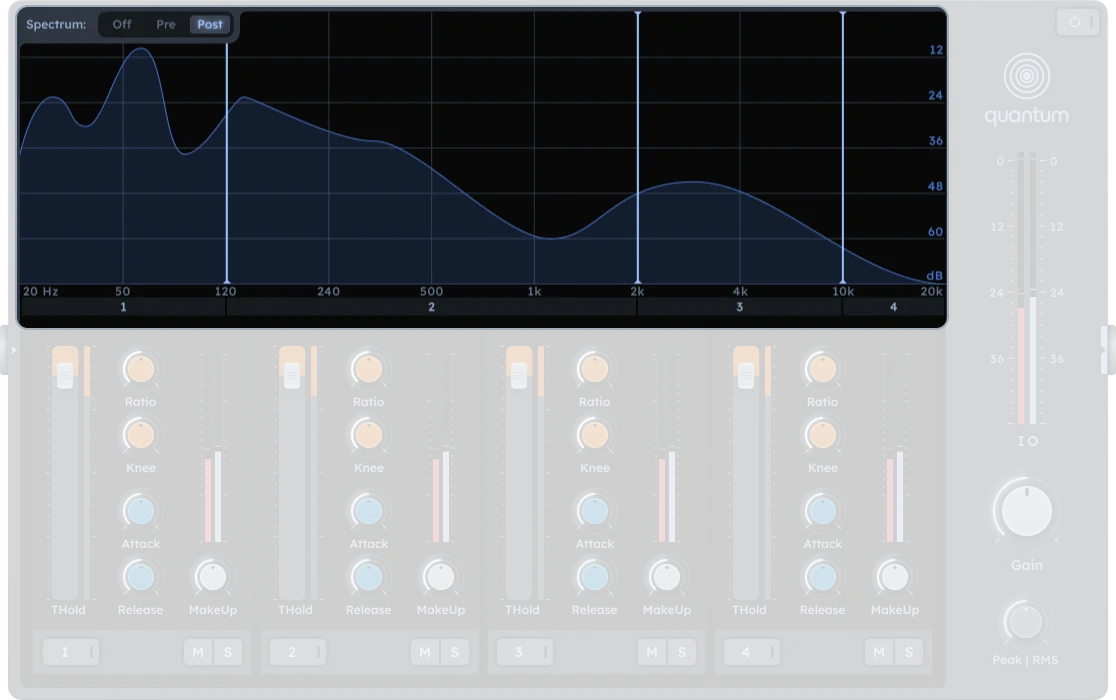
The real-time spectrum analyzer shows frequency content with three display modes (visual only, does not affect audio processing):
Off |
No spectrum display |
|---|---|
Pre |
Shows input signal before processing |
Post |
Shows output signal after processing |
Practical Tips
Practical Tips
Mastering: Smooth overall mix dynamics by applying light compression across all bands.
Bass control: Use a lower threshold and ratio on Band 1 (low frequencies) to tighten up bass.
Vocal clarity: Apply compression to midrange (Band 2 or 3) to bring vocals forward without squashing the lows or highs.
De-essing: Apply subtle compression on the highest band (Band 4) to tame sibilance.
Sound design: Over-compress selected frequency bands for creative distortion or pumping effects.
Solo each band to hear its frequency content clearly while adjusting compression settings.
Use soft knees for transparent compression and hard knees for more aggressive dynamics shaping.
Match makeup gain to ensure each band contributes evenly after compression.